

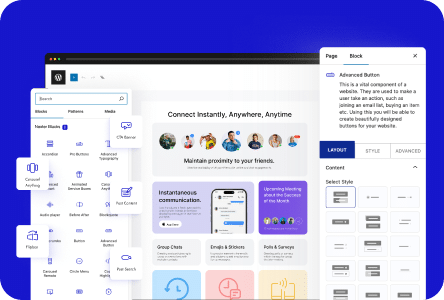







Are you looking to make a clickable container in WordPress? Making an entire container clickable lets users interact with a full section and navigate to another page or anchor point, reducing friction and improving site usability.
With the Container block from Nexter Blocks, you can make an entire section clickable in the WordPress Block editor without any custom code.
To check the complete feature overview documentation of the Nexter Blocks Container block, click here.
Requirement – This block is a part of Nexter Blocks. Make sure it is installed and activated.
Best Used For:
- Card layouts where the entire card area should link to a post, product, or landing page
- Feature sections where clicking anywhere on a highlighted block redirects users to a detail page
- Portfolio grids where each project container links to the full case study or project page
Add the Container block with the appropriate layout to the page and follow the steps below.
1. Go to the Extra Options tab and enable the Wrapper Link toggle.
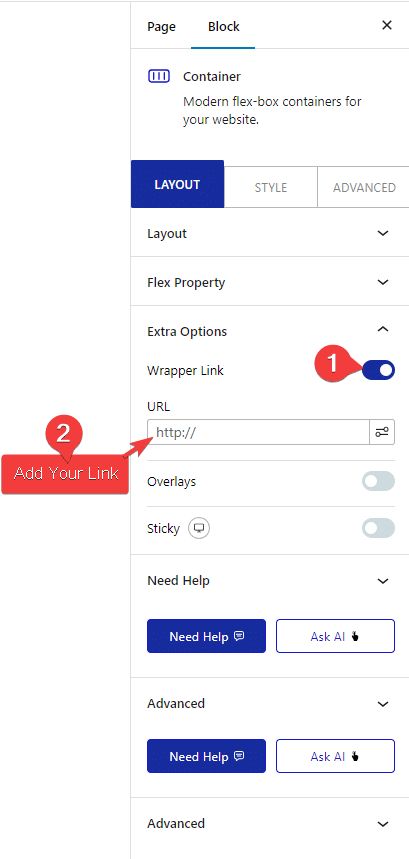
2. In the URL field, add the destination link for the container.
The entire container is now clickable. For portfolio or product grids where each card links to a detail page, combine the clickable Container block with the Post Listing block in Nexter Blocks to build a dynamic, fully-linked content grid.
